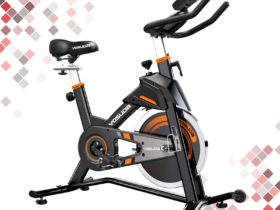
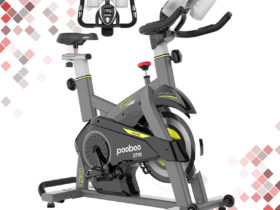
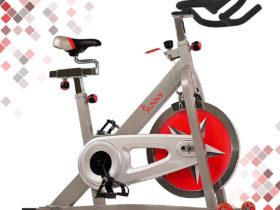
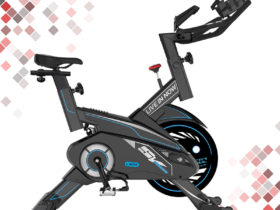
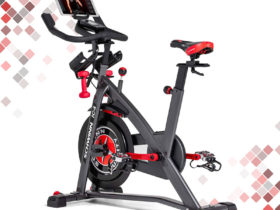
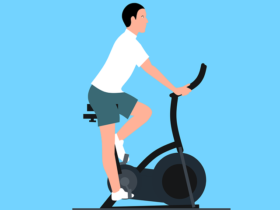
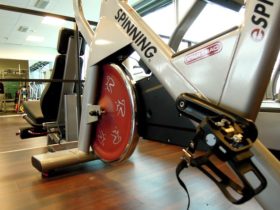
Once you’ve figured out how to find the best spin bike, it is time to take the bike for a spin – literally! Now while spinning is one of the easiest exercises to master, it is not as easy as simply sitting on the bike and obtaining a cadence (rotations per minute of the flywheel) of 80-100RPM immediately. To avoid ending up with any injuries or damaging the bike, let’s learn how to use a spin bike. This will also teach you how to carry out the simplest of workouts to get the calories burning.
Setting up Your Spin Bike
Once you have assembled the spin bike, it is time to familiarize yourself (and any family members who may be using the bike) with the primary mechanisms of the bike. These are
Seat Height:
The seat adjustment knob is usually located just in front of the seat, at a height slightly below that of the seat. Rotate it and pull it outwards to loosen the seat. Now raise the seat to a height roughly equal to your thigh bone.
Note that this height calibration can be approximate, allowing people with moderate differences in height to use the same settings. If the seat height is incorrectly calibrated, the body will not only be deprived of the benefits of using a spin bike but would be forced to bend excessively to reach the handlebars. Once the seat is in the correct position, turn the knob in a counterclockwise direction to lock the seat into place.
Handlebar Height:
Below the handlebars would be a small knob for adjusting the height of the handlebars. Rotate it in a manner similar to the seat knob to loosen the handlebars and raise them to a level slightly above the seat. Rotate the knob to lock the handlebars into place.
Resistance:
Learning to choose the right resistance is vital to find out how to use a spin bike. The knob or dial for changing the resistance is usually located near the console. With advanced models with automatic resistance modification, it is in the console itself. If the model you have chosen includes a mechanical knob/dial-style unit, rotate it once to reach the first resistance level. For the procedure outlined below, the first resistance level should suffice, but if it seems too low, you can always increase it later. If the unit has a digital resistance mechanism, you can change the resistance from the control panel once the unit has started working.
Performing a Simple Workout Routine
A careful reading of spin bike reviews would suggest that there are a wealth of exercises that an amateur can start out with. However, in order to maintain utmost simplicity, we’ve chosen the “sitting flats” procedure to get you started on the spin bike. For your convenience, we’ve divided the procedure into a number of parts –
Obtain the proper posture:
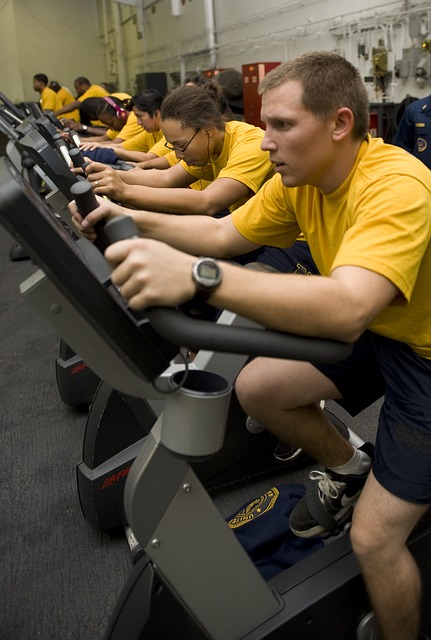
- The starting point of learning how to use a spin bike for an exercise is obtaining a correct posture and for this, you should place yourself on the seat such that your buttocks are resting firmly on the widest part of the seat. You may use the handlebars to balance yourself but do not start spinning yet.
- Place your hands firmly on the handlebars, such that the arms are slightly curved but relaxed. Do not lean on the handlebars at any time. Rather you should focus on maintaining your balance using the pedals and the seat.
- Keep your neck in line with your spine, such that you are not bowing towards the console. Bowing causes excessive strain on the neck. Putting the neck in such a position can only have negative effects.
- Maintain a neutral spine angle such that there is no pressure on the spine. In other words, do not bend forward or backward too much.
- Relax and spread your shoulders to the maximum possible extent. This helps improve breathing and provides more energy for the workout.
Start Spinning!
- If you have a spin bike with a digital resistance setup, set the resistance to the lowest level now.
- Gripping the handlebars firmly but not too tightly.
- Adjust the feet such that they are located at the center of the pedals.
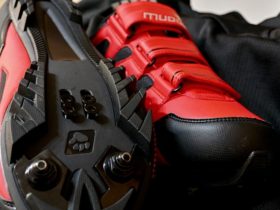
- You can strap the feet to the pedals using the Velcro straps provided with each pedal.
- Now start pedaling at a slow pace, making sure that the movement is smooth and rhythmic.
- Cycle/spin at a slow pace for the first five to ten minutes. Make sure your starting posture is maintained throughout. Since spinning is essentially a lower body workout, the upper body should not undergo any movement.
- After the initial phase, you can increase your pace to about 70RPM and observe if the posture can be maintained. If at any time you find your chest feeling heavy or have difficulty breathing, you can slow down for a while. If this does not help, stop the workout immediately.
Continue the workout for about 15-20 minutes
- Keep track of your cadence (if it is measurable) to ensure that you are maintaining a steady pace. If at any time you lose your rhythm it is ideal to slow down and get back into rhythm before resuming the workout at full speed.
- If you still have energy left after 20 minutes, you can raise the resistance to the second level for five minutes to introduce your body to more difficult workouts. However, do not extend this phase of the workout for more than 10 minutes under any conditions.
- Slow down gradually and stop cycling when the clock strikes the half an hour mark. Carefully get off the spin bike and relax for a while before proceeding with other workouts.
Conclusion
Working out in a manner contrary to what the experts advise can not only cause health issues but also cause mechanical problems that would force you to wonder how to maintain a spin bike before maintenance is actually due. If you followed the above procedure for learning how to use a spin bike, you can be confident that you have started out on a workout journey. Your spin bike offers great potential for your overall physique, your muscles, and also your fitness level.


